Seared Scallops with Lemon Glaze

DSC_2067

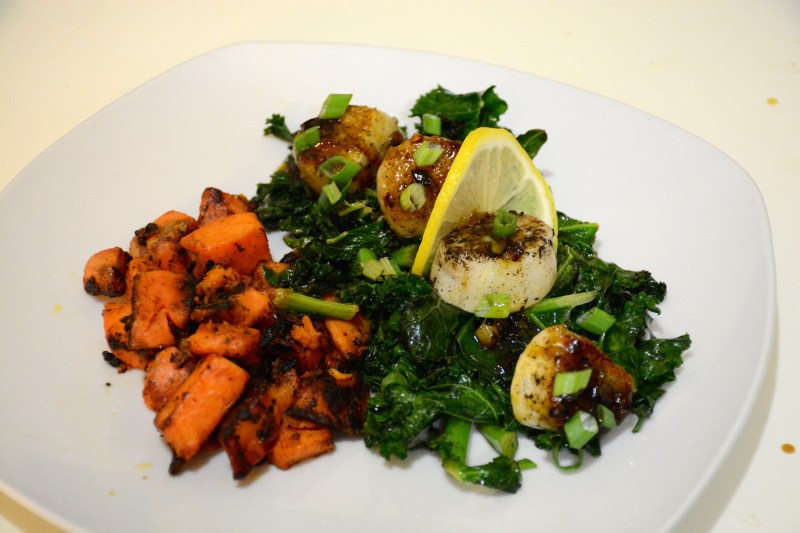
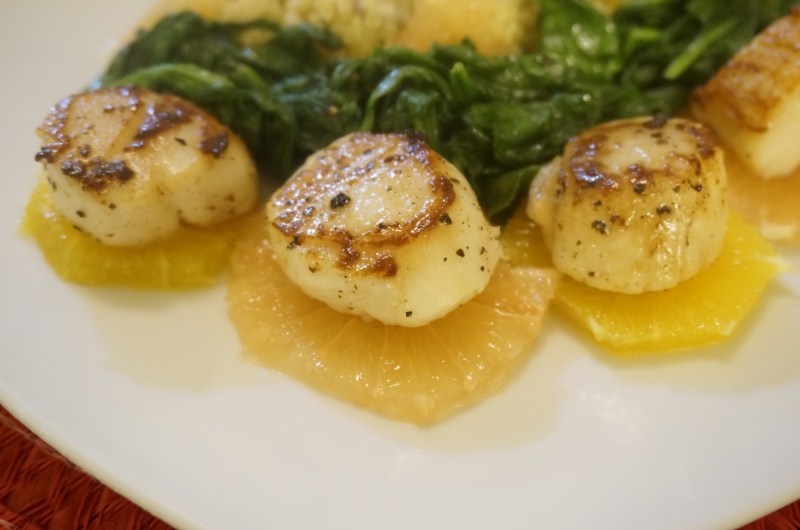
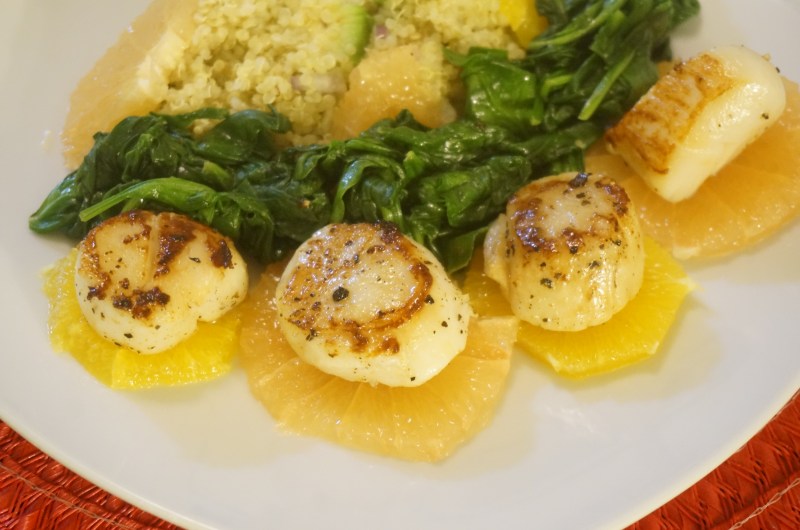
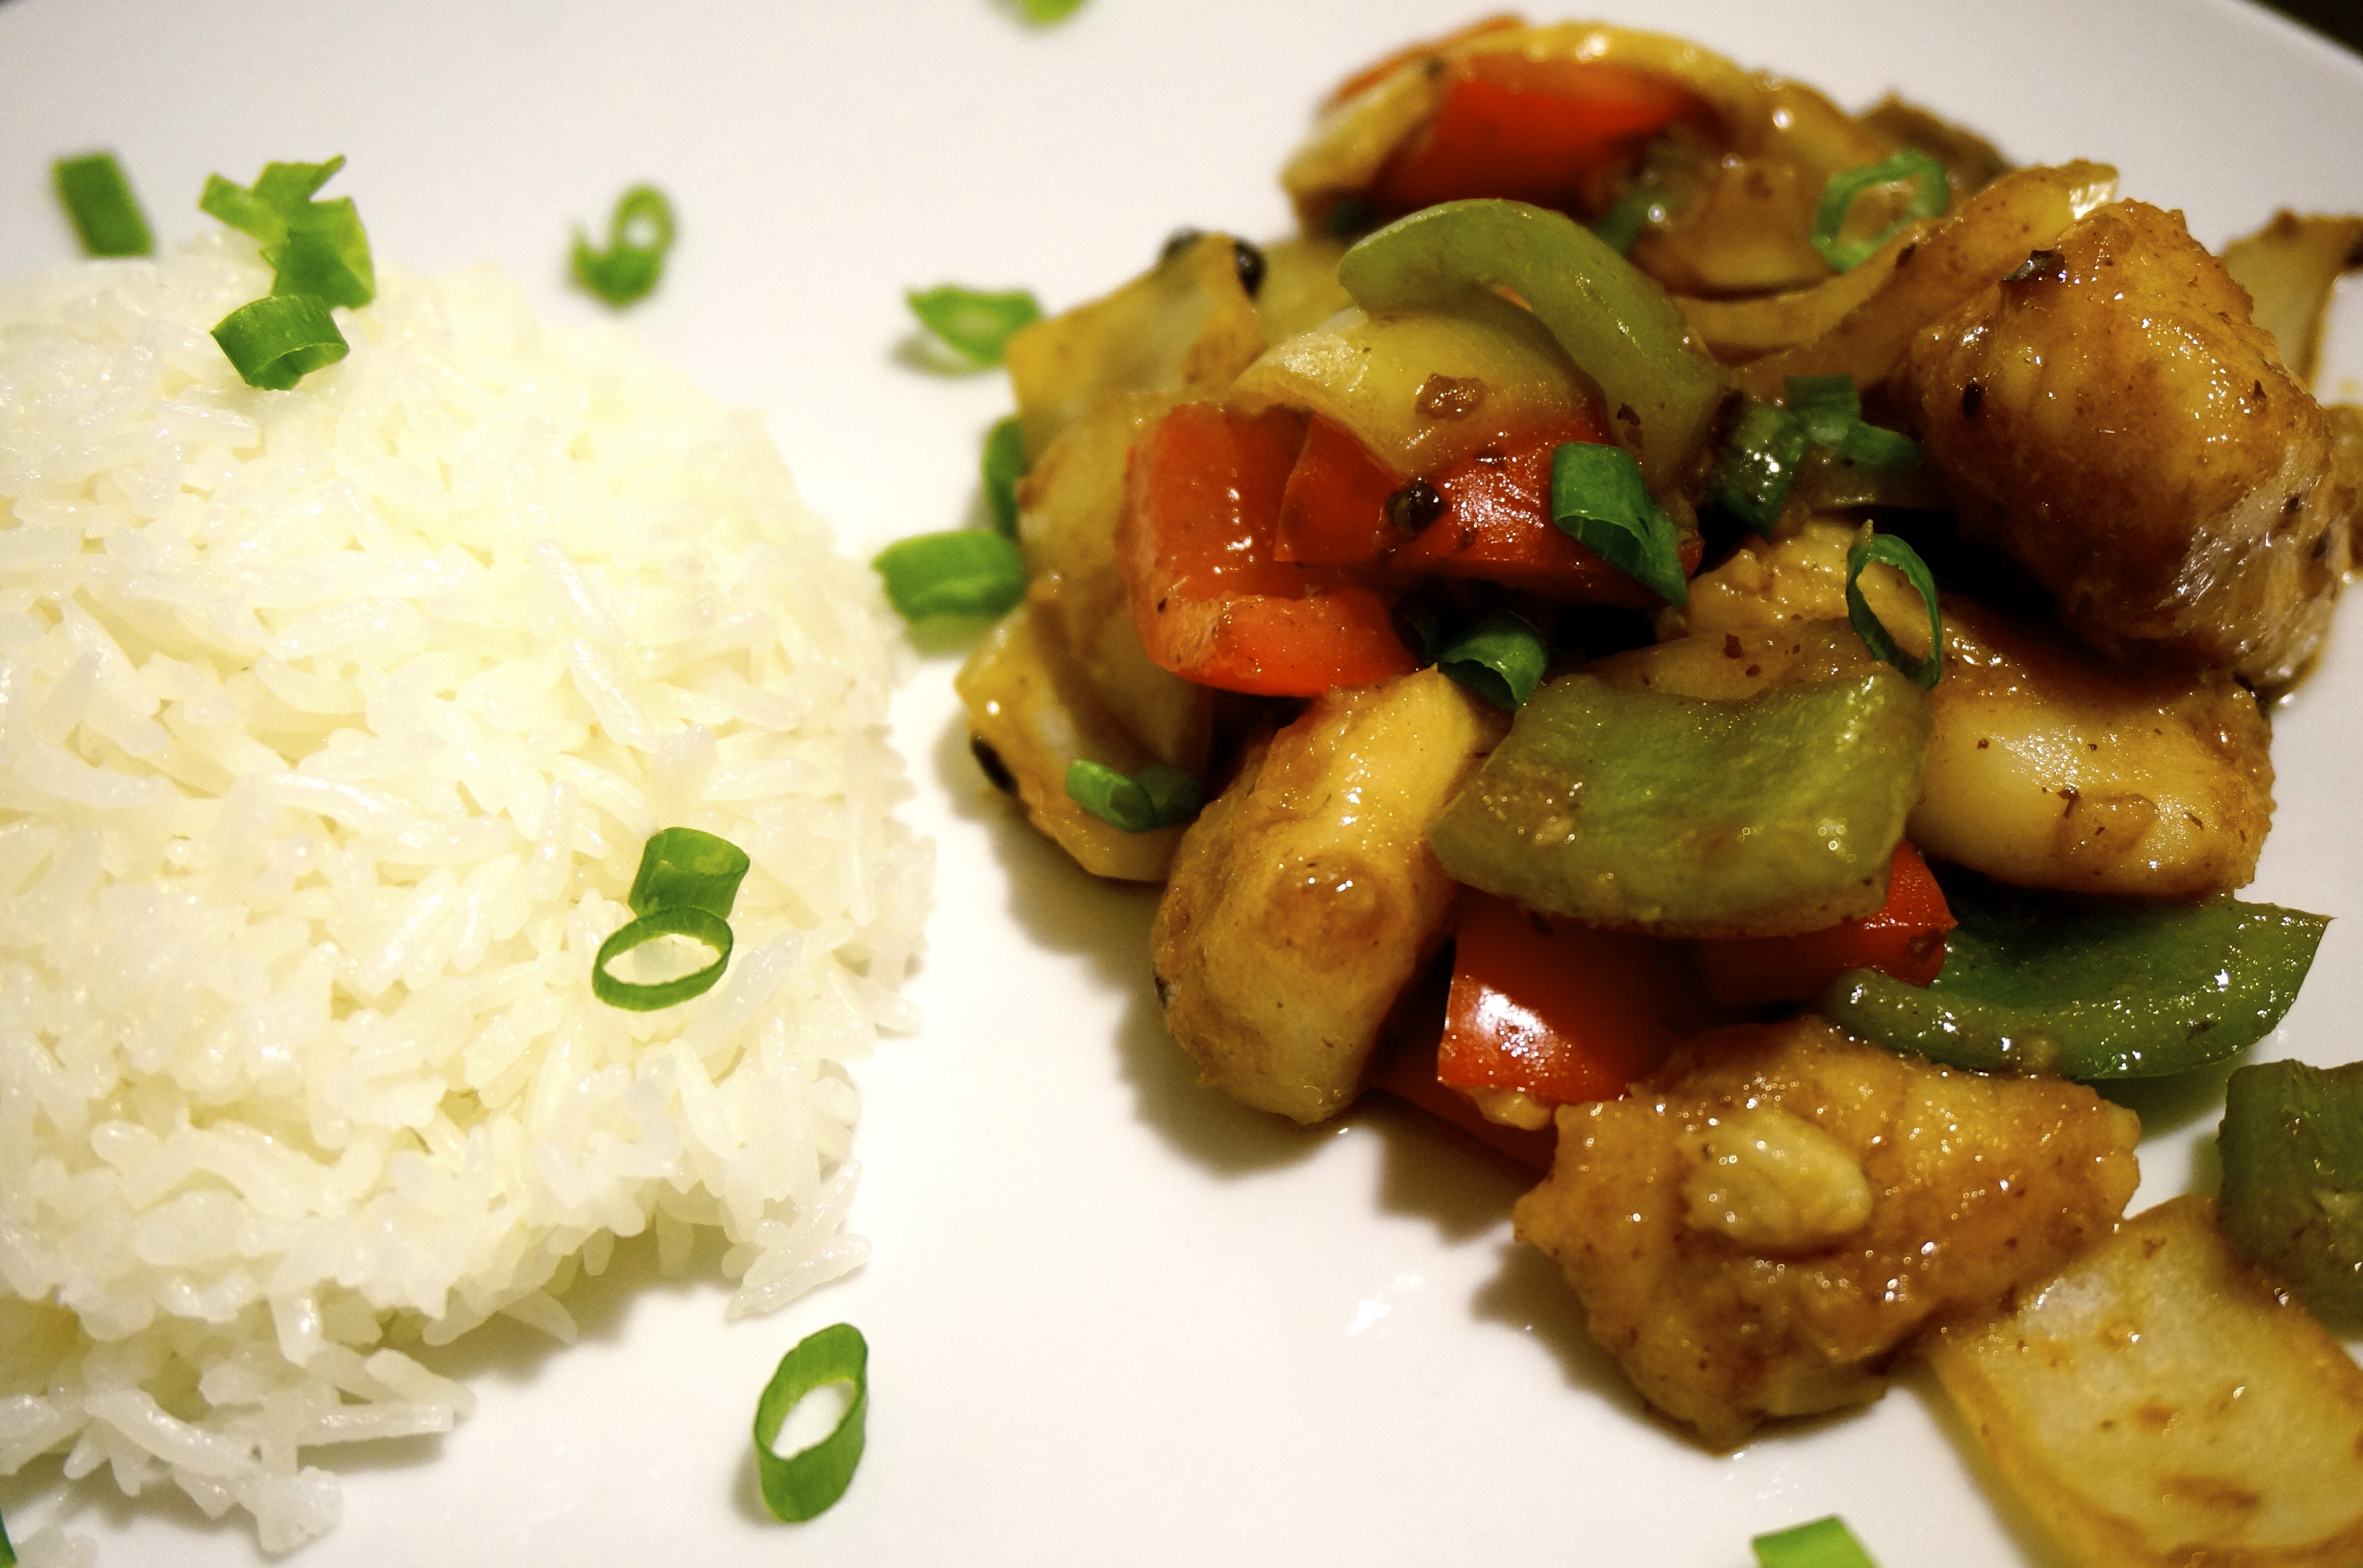
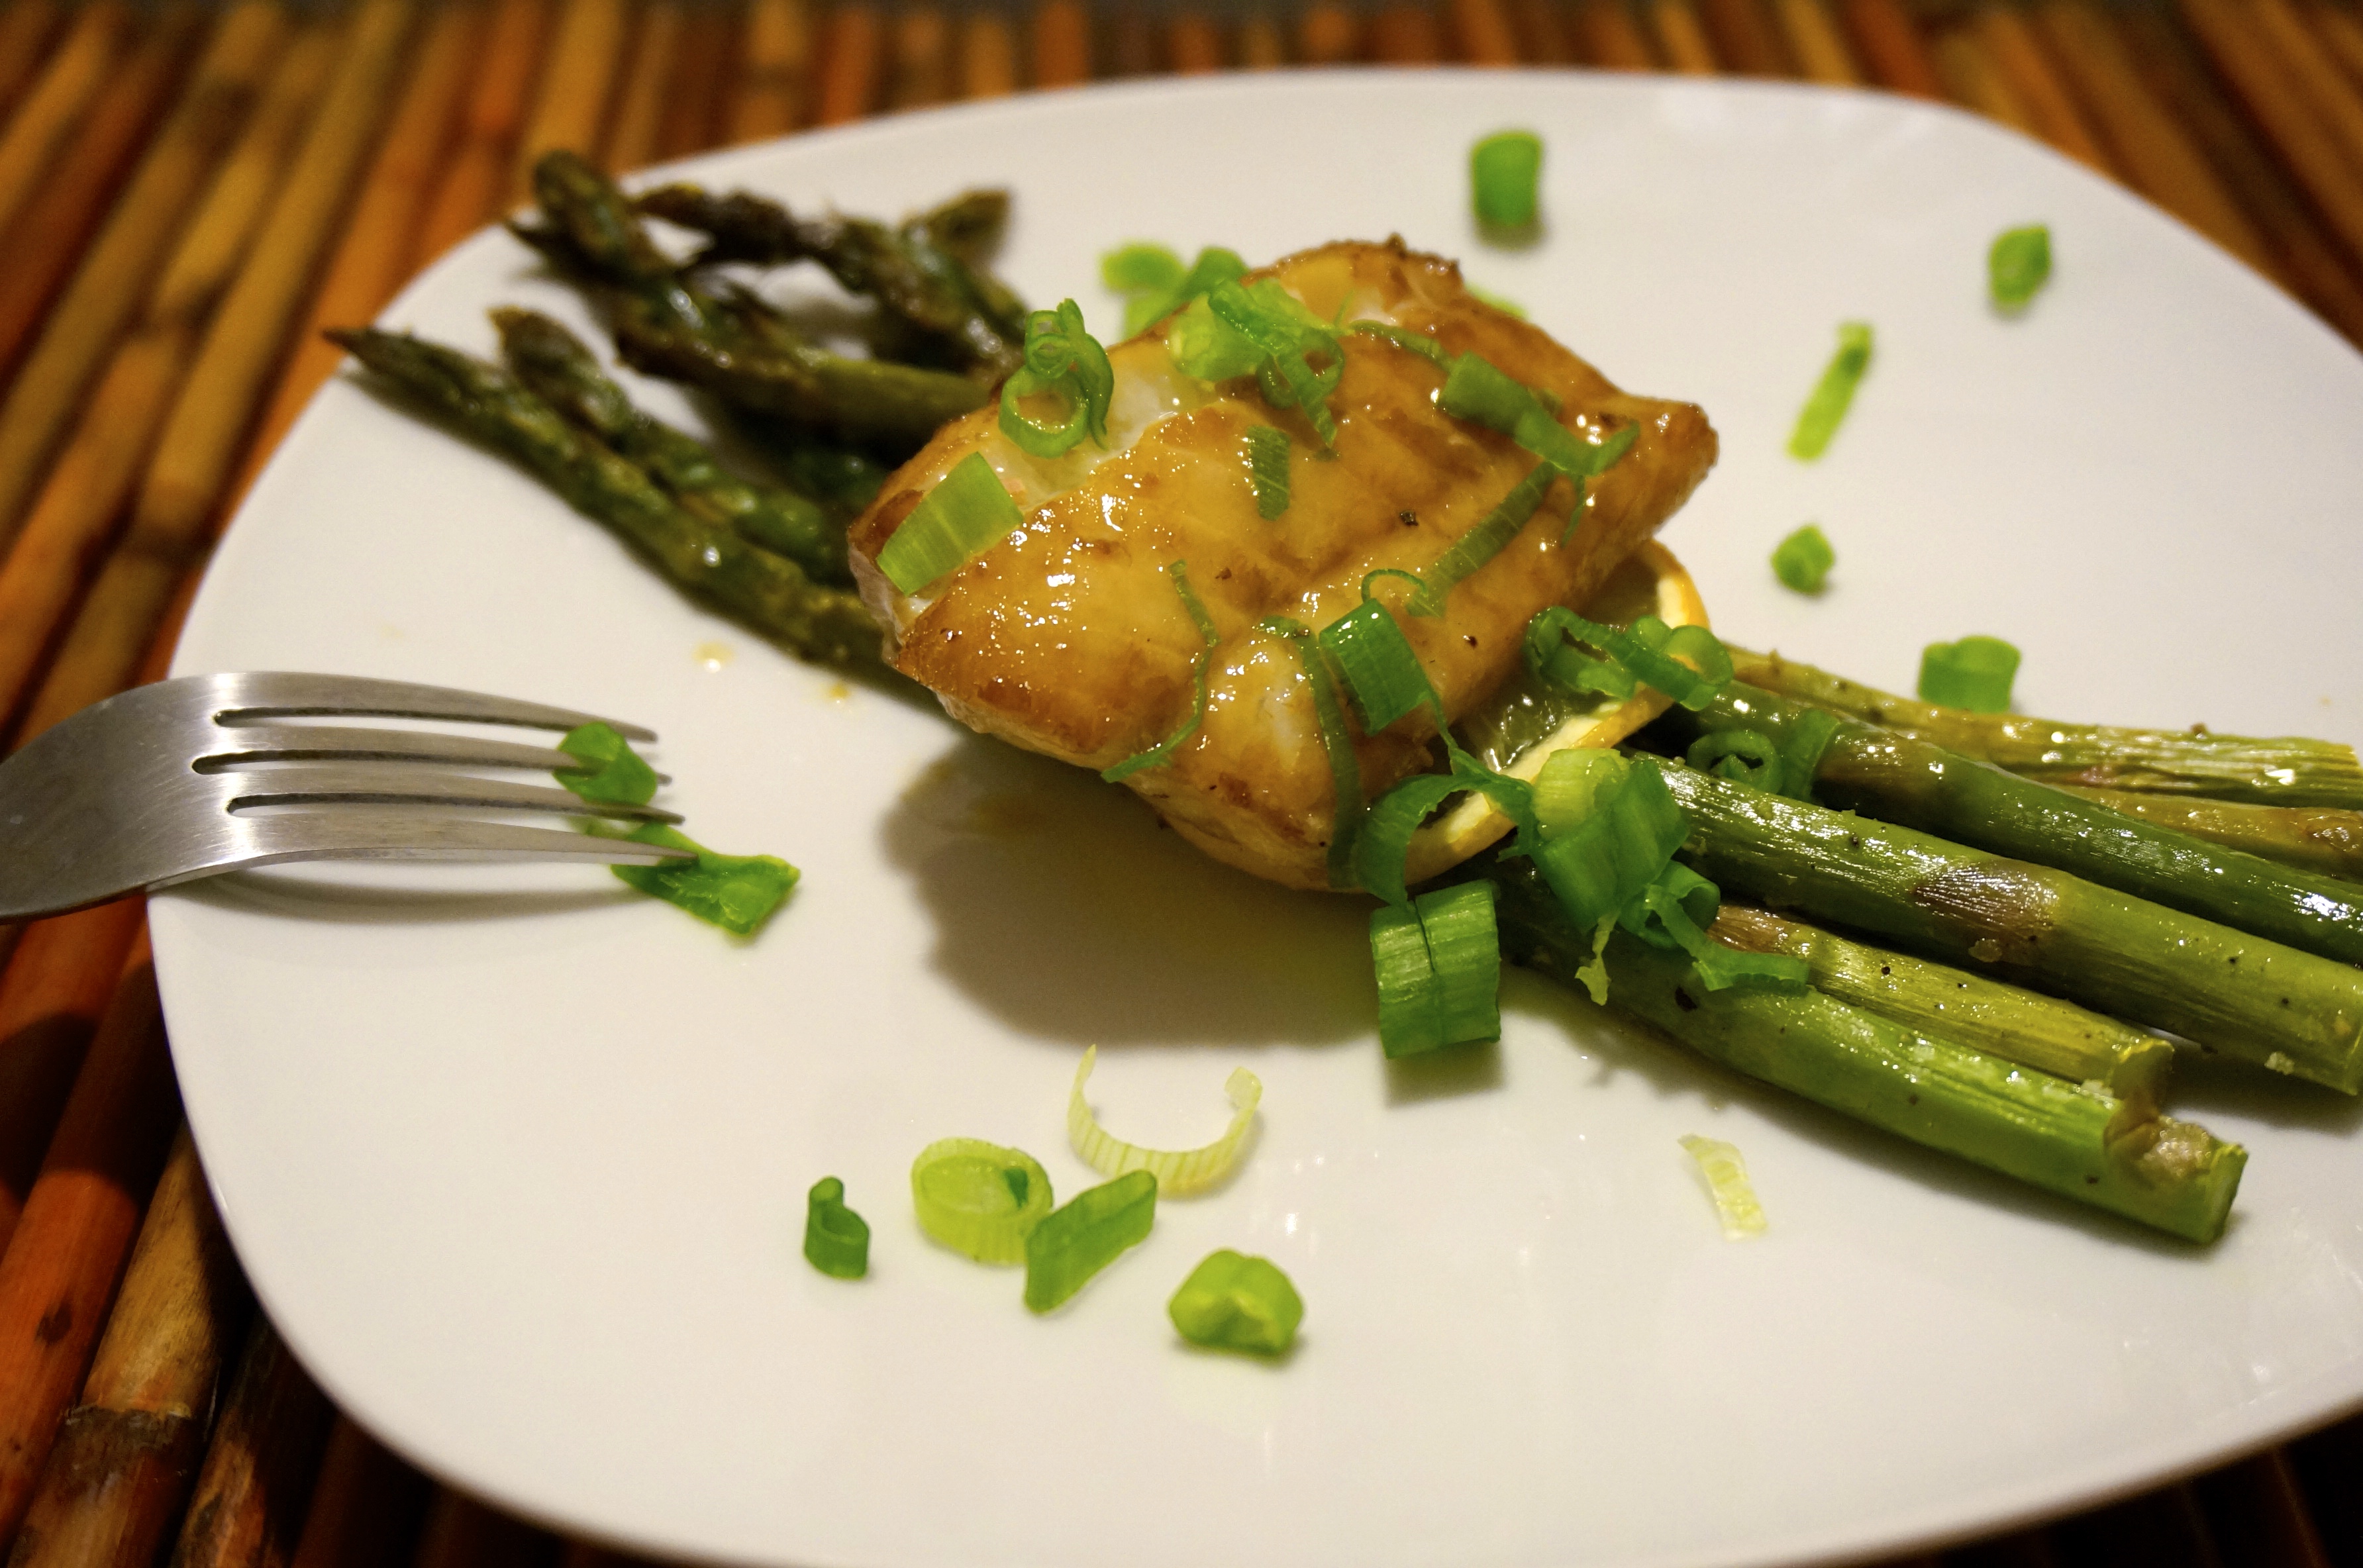
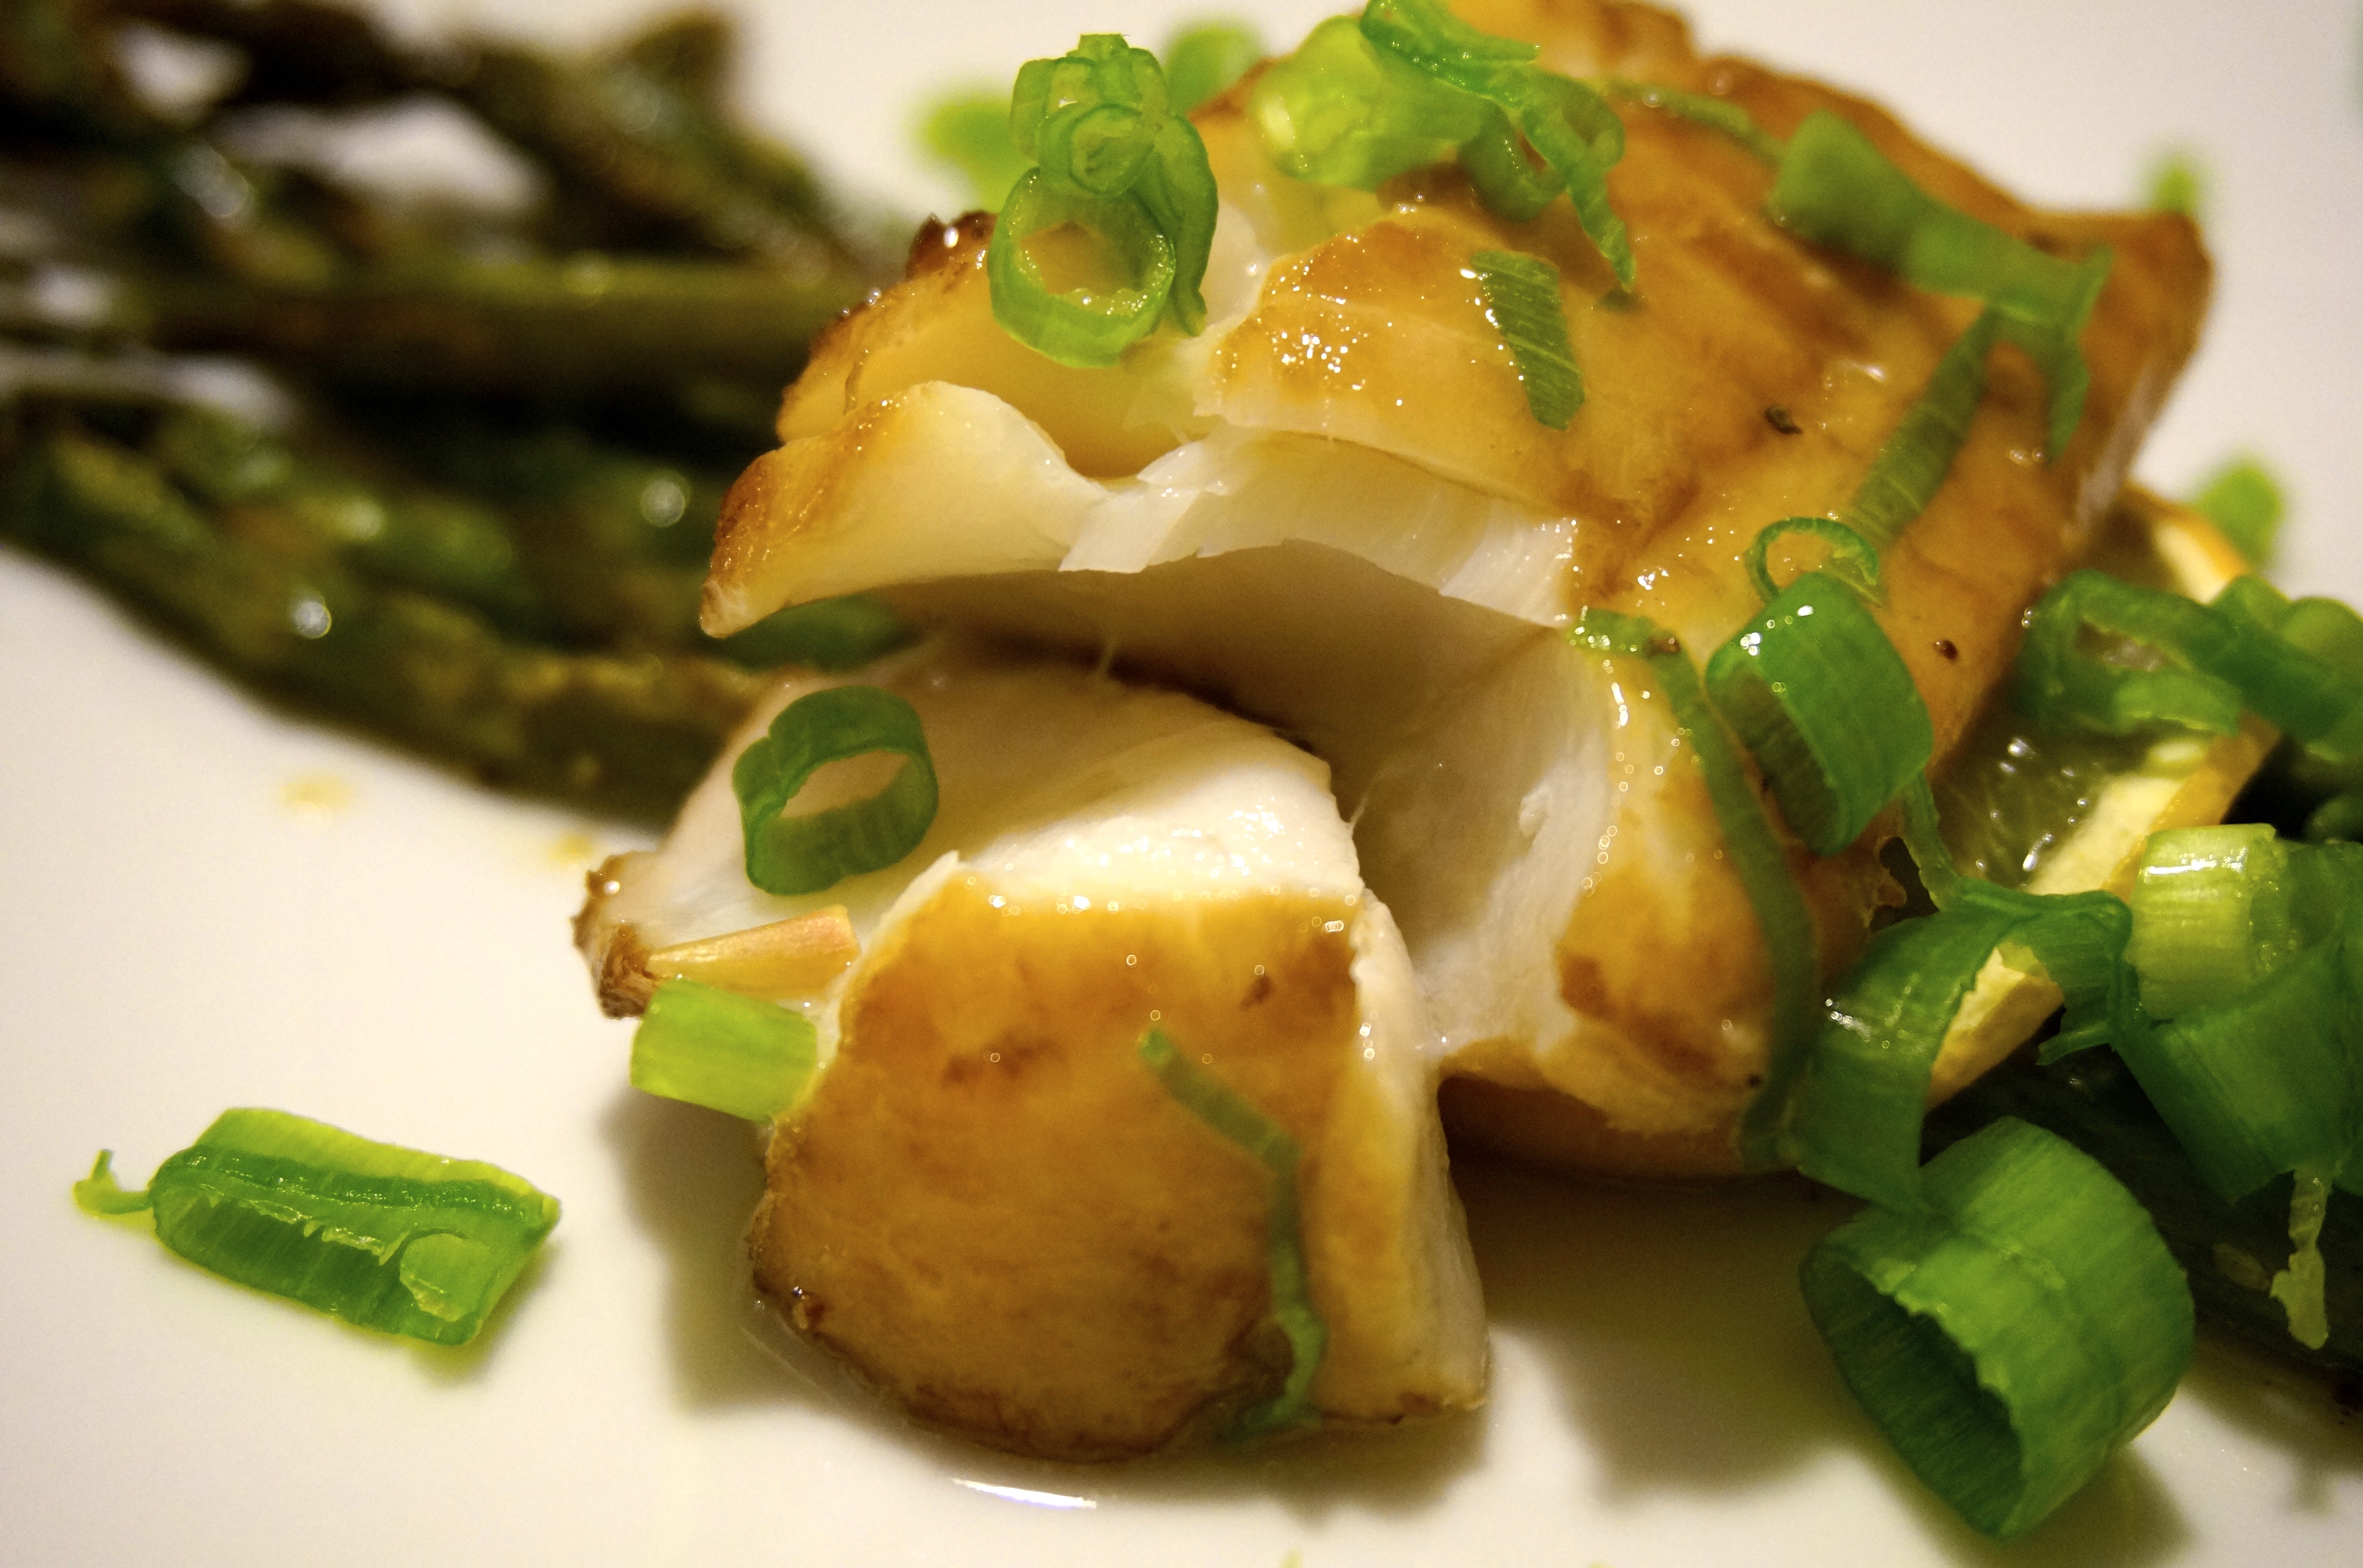
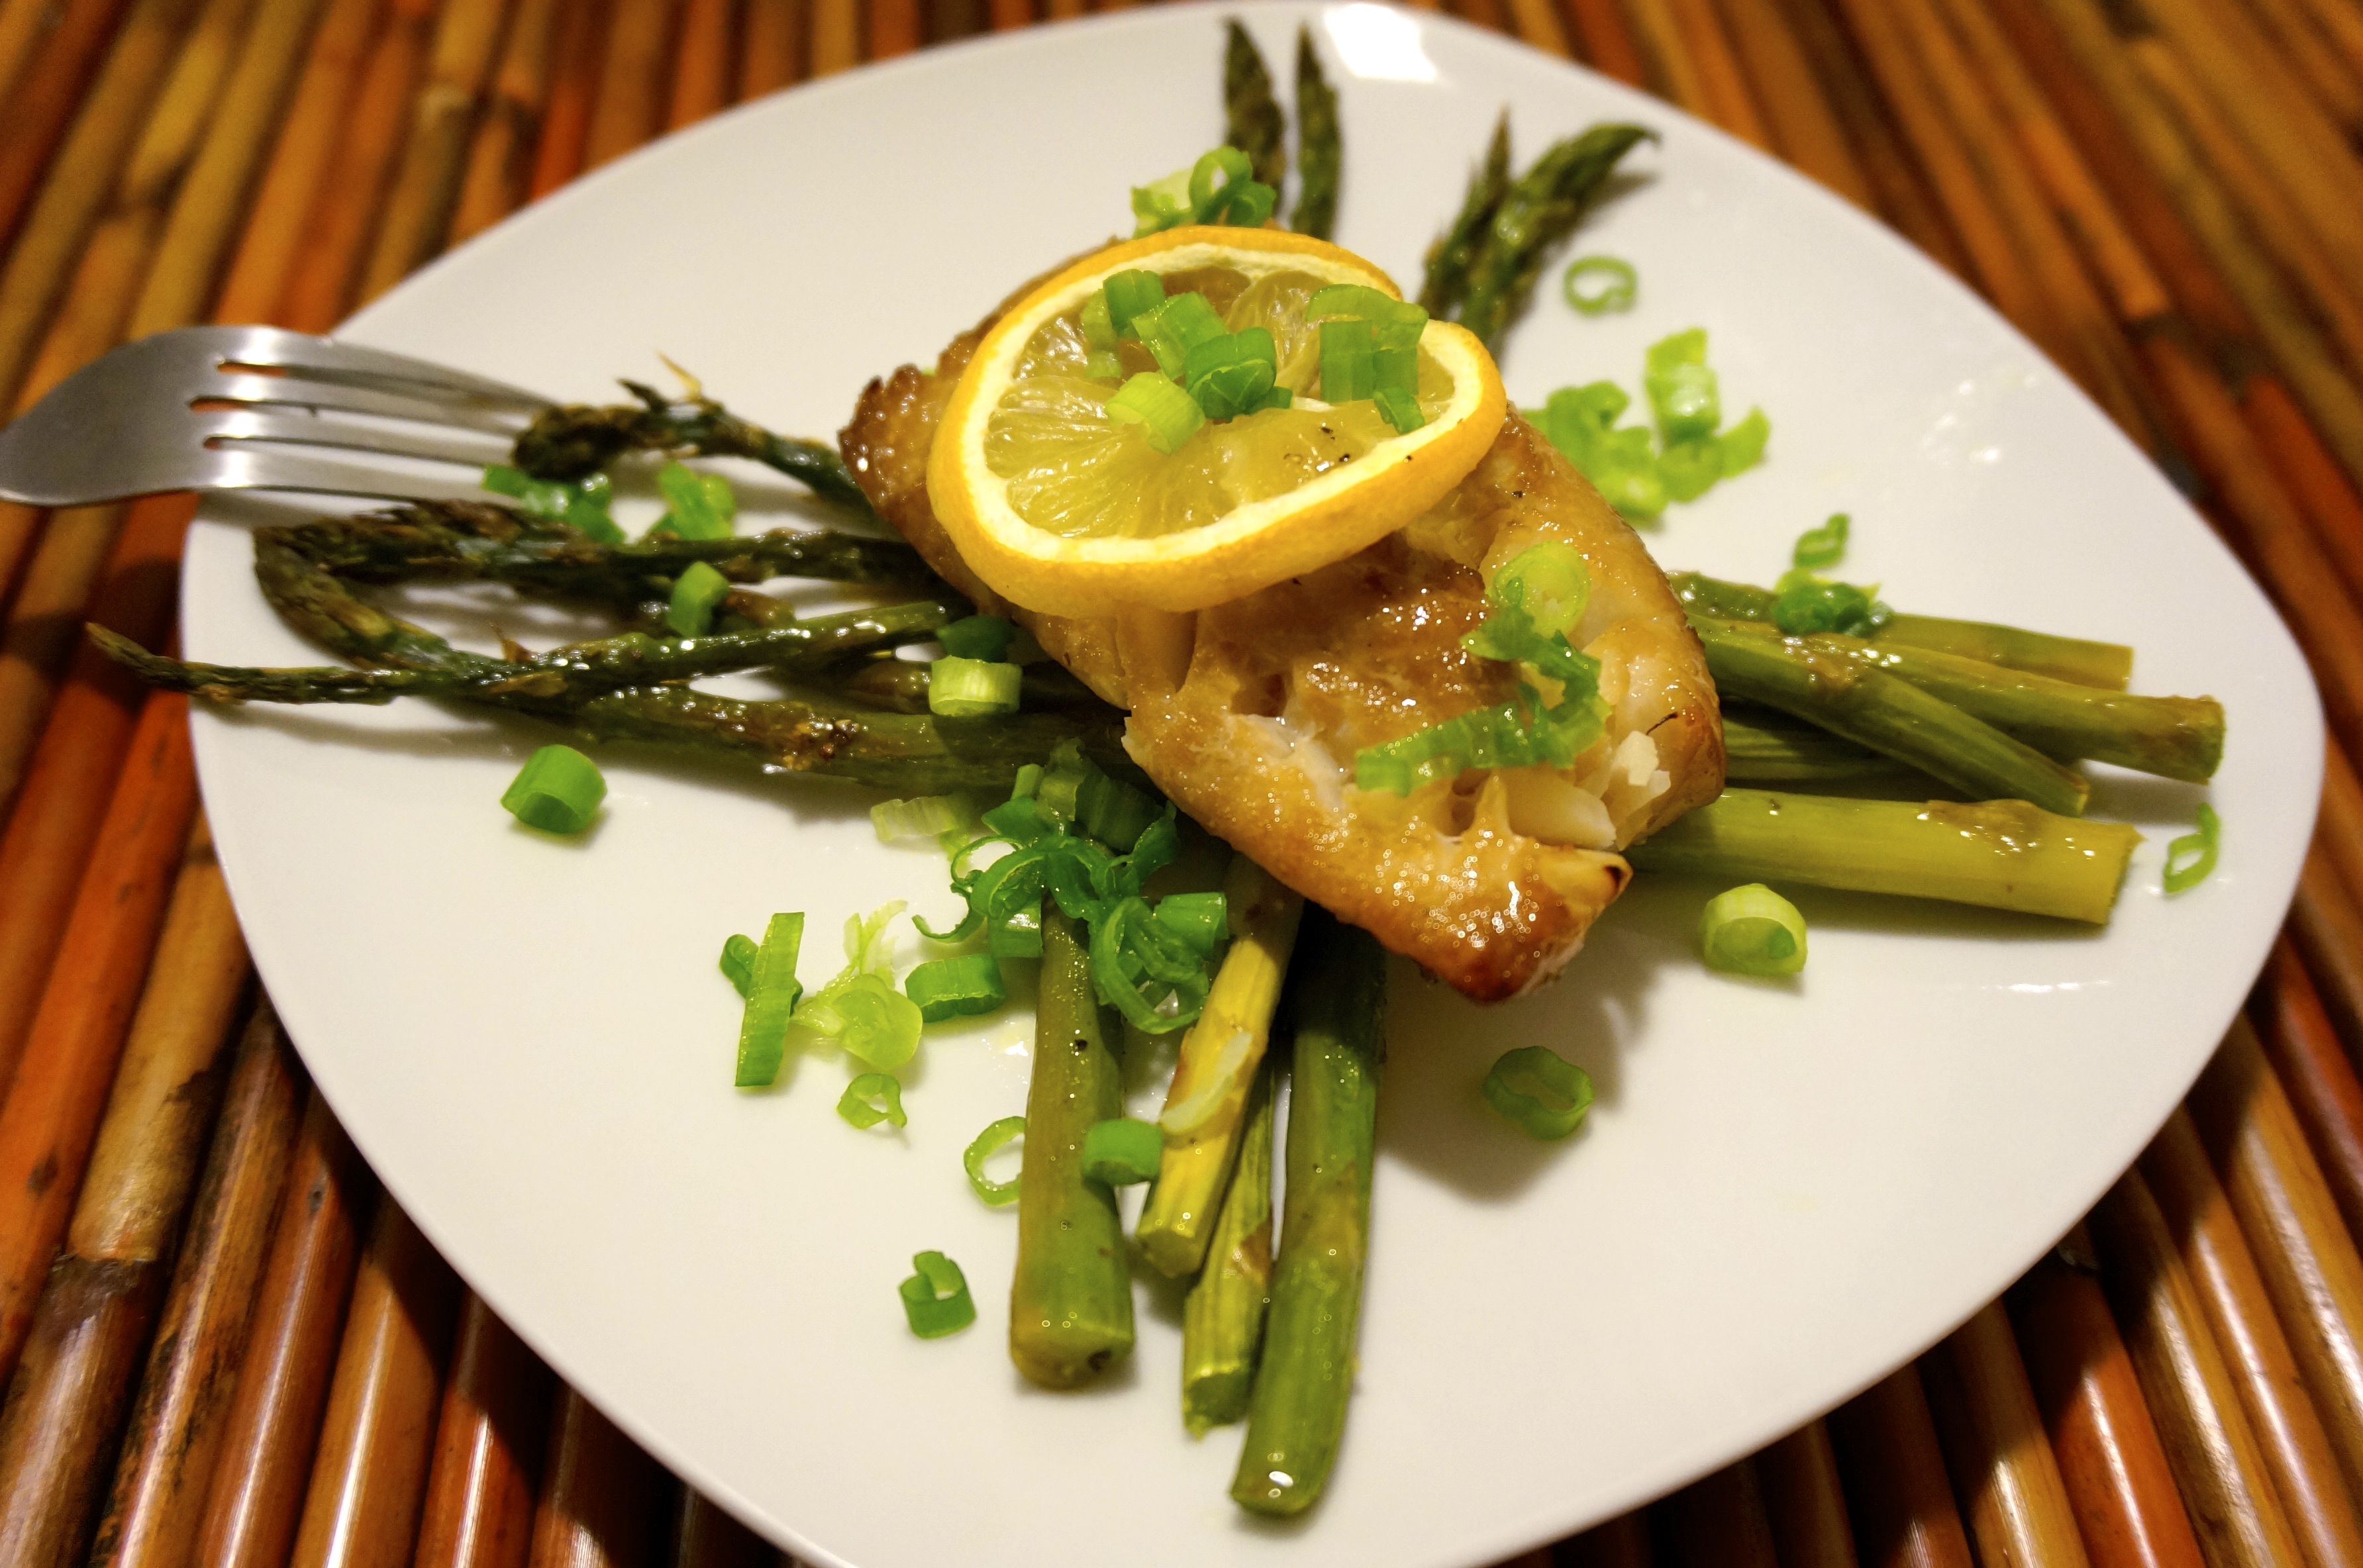
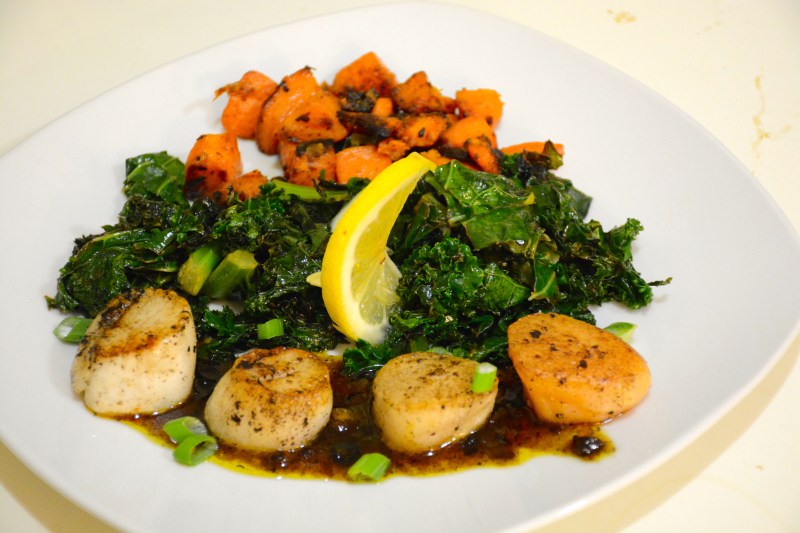
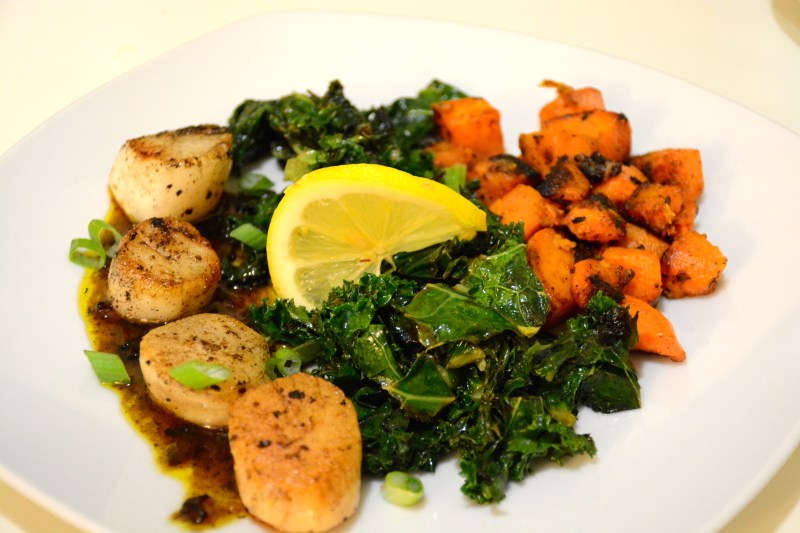
Hi everyone. As you know I have been cooking a lot with sous vide immersion cooker. Things that were normally harder to cook have all of a sudden become a whole lot easier (this is not a plug for one I swear). One of those things that I have generally had a more challenging time with before was pan searing scallops. They either didn’t sear well or came out over cooked. But, with the sous vide, it was pretty simple to sear and keep them well cooked. I made a lemon glaze to go with it and paired it with sautéed kale and crispy sweet potatoes for a perfectly easy and healthy meal.

DSC_2066

Ingredients

  • large scallops
  • 2 large lemons
  • Salt and Pepper
  • Red Chili flakes
  • 2 tbsp butter
  • 1 green onion, separating green and white part
  • 4 tbsp dry wine
  • 1/2 cup orange juice
  • 2 tsp honey

Directions

  • Heat water bath to 122ºF
  • Wash and dry scallops
  • Salt and pepper to taste and place them in the vacuum bag (~1lb/bag)
  • Place 2 lemon slices in the bag and seal
  • Place in water bath for 30 minutes
  • At this time, prepare the sauce by heating butter in a saucepan
  • Add the chopped white part of the green onion and chili flakes
  • remove the scallion and in another bowl combine orange juice and juice of a lemon to get 2/3 cup of liquid
  • When the scallops are done cooking, remove them from the bag and pat dry them
  • Sear in skillet over high heat with butter residue from sauce
  • remove the scallops and deglaze with dry wine
  • Add the orange and lemon juice mixture and zest of 1 lemon
  • stir in green onion and bring to a boil until glaze like consistency
  • Add honey if too sour/tart for your liking
  • Pour the sauce over the scallops and enjoy (or I placed the scallops on top of the sauce)

DSC_2059

Advertisement

Poached Cod

_DSC8391

So I always hear that poaching fish is a good and easy way to cook it (ok not always hear, maybe like a few times). Of course when I looked it up, it didn’t seem that hard, and all in all I’d say that it isn’t. However, if I am going to be honest, while it looks pretty in the broth and all the veggies, I probably prefer to pan sear my fish and eat it slightly crispy.  Not everything we make can always be freaking awesome you know? sometimes you strike out, and this doesn’t even qualify as striking out. There was a lot of good flavor in the broth, but I just felt that the fish was kind of bland and lacking. Maybe if I get venturous again I will give this one another shot in the future, but for now, here it is. If you change it up and it comes out tasting great, please let me know what you did differently. I would like hear!

_DSC8379

Ingredients:

  • 6 cups water
  • 1/4 cup dry white wine
  • potatoes, sliced
  • onions/shallots, sliced
  • carrot, sliced
  • 1/2 lemon sliced
  • salt and pepper
  • 4 cod filets
  • 2 bay leaves
  • parsley and/or cilantro

_DSC8383

Directions

  • Combine all ingredients other than the cod in a pot and bring to a boil on high heat
  • Reduce to a simmer on low heat
  • When liquid is lightly simmering, add cod filets, making sure to completely cover them in liquid
  • Poach until cod is opaque and flaky (~7min?)
  • Serve….so simple right?

_DSC8392

Sous Vide Pork Rack

DSC_2206

As you know I got a sous vide as a gift, and I have been trying my hardest to use it as often as I can. Now I know it can be time consuming, but man does stuff come out good. Gone are the days of roasting things in the oven or frying things in a pan and having it dry out. Sous Vide reminds me of those “Set it and Forget it” commercials from back in the day. So I decided to sous vide a 4 bone pork rack (originally came in a rack of 8 bones, but I cut it in half, because who the heck is going to eat 8…). I made this before by roasting in the oven and it came out great, but this one came out better in my opinion. Also this recipe is not from anywhere, or based on anything, but just me experimenting, so feel free to mess around obviously. But you can try both and let me know!

DSC_2194

Ingredients

  • Rack of pork
  • Kosher Salt and pepper
  • 1/4 tbsp of dried oregano, thyme, rosemary
  • Olive oil

DSC_2200

Directions

  • Set sous vide water bath to 143º F (or oven to 350º)
  • Rinse and dry pork rack
  • Salt and pepper the pork, and add herbs as well
  • Place the pork rack into the bag, add some olive oil, and seal (alternatively place in roasting pan and drizzle oil)
  • Place in water bath for 90 minutes (or oven for 1hour)
  • Remove from water bath, pat dry, and sear in skillet over high heat for ~2-3 minutes a side (may need a little oil in the skillet)
    • if using the oven, skip this step
  • Let the pork rest, cut, serve, and enjoy!

DSC_2209

Citrus Scallops and Quinoa Salad

_dsc8419

As I have been doing this blog (sparingly to be honest), it has made me venture into things that I normally would not eat or attempt. This is especially true in light of the fact that I am trying to eat healthier (venturing into baking isn’t awesome on your body when you live by yourself…). Thus my foray into the magical worlds of quinoa and kale (although there is no kale in this recipe). I bought some quinoa on a whim and decided to try and make it, but man is it boring. So I thought I’d try and spice it up a bit (or in this case, sweeten), by making it into more of a citrus salad. And because I need some kind of protein, I added some seared scallops to go along with it. The result was a really good, light meal that I did not feel guilty about eating. So give it a go and let me know how it turns out for you.

_dsc8415

Ingredients:

  • 1 cup quinoa, cooked to instructions
  • 1 lb large sea scallops, washed and dried
  • 1 grapefruit, cut into slices
  • 2 navel oranges, cut into slices
  • 1 large avocado, cut into cubes
  • 1/4 cup olive oil
  • 1 lemon, juiced
  • 1/8 cup honey
  • salt and pepper to taste

_dsc8421

Instructions

  • Cook quinoa to instructions
  • Mix the olive oil, lemon juice, honey, salt and pepper in a small bowl
  • Wash and pat dry the scallops, salt and pepper to taste
  • Sear the scallops in a large pan over med-high heat
  • Mix the quinoa and the dressing, using a fork to combine
  • Add the avocado, grapefruit, and oranges and mix again
  • Add the scallops and in my case sautéed spinach as well
  • Eat and not feel guilty!

Panko Parmesan Crusted Halibut

_DSC7794

So Jenn was over one weekend and I decided to cook for her (as is kind of the point of this blog). She obviously gets the better end of this deal now that I think about it. She is always wanting to eat healthier and encouraging me to do the same. I oblige as much as I can, but c’mon, you can’t not eat ribs, burgers, fries, steak, pizza, dessert, etc if they’re in front of you. And let’s be honest, I make it a point to put them in front of me. So, I had a few vegetables in my fridge and in order to be healthy, I decided to make fish. But me being me and wanting to make it nice and do this “chivalrous” thing for the gf, I went out and got halibut (Costco really does have good deals). I basically had everything else in my pantry, so it worked out great. I loosely followed a recipe by For the Love of Cooking. All in all, it turned out pretty dang good, crispy and flaky, the way it was supposed to be. Try it out and let me know what you think!

_DSC7792

Ingredients:

  • halibut filets, no skin
  • 1/2-3/4 cup panko crumbs
  • 1/4 cup freshly grated parmesan cheese
  • 1 tbsp parsley, finely chopped (or dried I suppose)
  • 1/2 tsp garlic powder
  • salt and pepper
  • lemon juice (maybe 1/2 a medium lemon)
  • olive oil
  • cooking spray

Directions:

  • Preheat the oven to 450 degrees, wash and pat dry the halibut
  • On a plate, combine the panko, parmesan, parsley, and garlic powder
  • Brush both sides of the halibut with olive oil, and squeeze some lemon juice on them
  • Season the halibut with salt and pepper
  • Dip and coat the halibut with the panko mixture
  • Place the halibut on a cooking/baking rack and spray with cooking oil
  • Bake for ~15 minutes
  • Let sit for ~1-2 minutes, garnish with some chopped parsley and enjoy!

_DSC7798

Hawaiian Hoisin Spare Ribs and Pineapple Slaw

_DSC6743

Hey, so it’s been awhile (2 months) since I have last posted, which when I think about it is a really long time. It’s not like I haven’t cooked in 2 months, but I guess nothing worthwhile?  This is a recipe I did awhile back and it turned out really well.  I got the recipe for the ribs here and made both the ribs and the slaw.  They complement each other nicely with the citrus and crispness of the slaw to contrast the sweet and savory of the ribs.  However, for the slaw, the recipe requires a lot of ingredients so I left a lot of things out, which didn’t detract from it at all IMO. Also, this requires a lot of stereotypical Asian ingredients, so thankfully I have most of this at home. But if you don’t, it does require a lot.

_DSC6739

Ingredients:

Ribs:

  • 5 lbs spareribs/baby back ribs
  • 1 cup hoisin sauce
  • 1/2 cup dark soy sauce
  • 1/2 cup honey
  • 1/4 cup sesame oil
  • 1/4 cup rice vinegar
  • 2 tbsp minced garlic
  • 2 tbsp minced ginger
  • 1 tsp red pepper flakes
  • 1 tbsp salt
  • 1 tsp pepper
  • 1 cup chicken broth

_DSC6745

Slaw:

  • 1/2 cup cider vinegar
  • 2 tbsp honey
  • 3 tbsp soy sauce
  • 1/2 cup vegetable oil
  • 1/4 cup sesame oil
  • 1 tbsp red pepper flakes
  • 1/4 cup chopped cilantro
  • 1/4 cup sliced green onion/scallion
  • salt and pepper
  • 2 cups diced pineapple
  • 1 cup julienned red pepper
  • red and green cabbage shredded (I used the premade slaw mix from the market)

Directions:

  • In a large saucepan over medium heat, combine the hoisin, soy sauce, honey, vinegar, sesame oil, garlic, ginger, and red pepper flakes
  • Bring to a boil and let simmer until a thick glaze. Remove from heat and let cool
  • @ 275 degrees, place a wire rack in a large baking dish and pour the chicken broth into the bottom of the dish
  • salt and pepper the ribs on both sides, wrap in foil, and place on baking rack
  • Wrap the whole pan in foil and bake for 1-1.5 hours
  • Let the ribs cool for ~15 min and then drizzle/coat the ribs with the glaze
  • Broil for ~5 min making sure not to burn the glaze
  • After removing the ribs and letting stand, drizzle a little more glaze
  • For the slaw, whisk together the honey, vinegar, and soy sauce
  • Slowly add the oils while whisking, and then add the cilantro, peppers, and green onions
  • Add salt and pepper to taste
  • In a bowl, mix the cabbage (or premade mix) and the pineapples
  • Toss in the dressing and refrigerate until ready to serve
  • Enjoy!

_DSC6738

Black Bean Fish

_DSC6721

Hi everyone. So it has been awhile again. I actually didn’t realize how long it has been since I last posted. The other day I made a Chinese style black bean fish that came out pretty good.  It’s a dish I have never made and rarely order when I go out to a restaurant due to the usually awful ratio of onions and bell peppers to fish.  But, when you make it, you get to control things like that so it all works out.  I got the recipe from here.

Ingredients:

  • 1/2 lb sole fish fillet cut into pieces and marinate with 1/2 tablespoon corn starch (I used Swai fillets)
  • 2 tablespoon Lee Kam Kee black bean sauce
  • 1 small onion (quartered)
  • 1 small green bell pepper (cut into small pieces)
  • 2 green onions chopped
  • 5 slices fresh ginger
  • 1/8 tsp fish sauce
  • 1/2 tsp sugar
  • 1/8 tsp sesame oil
  • 1/4 tbsp corn starch mixed with 3 tbsp water

_DSC6722

Instructions:

  • In a wok, add some cooking oil over medium heat
  • Add the onion, bell pepper, and ginger and fry until cooked and aromatic
  • Add the fish, fish sauce, sesame oil and black bean sauce and stir-fry until fish is cooked
  • Add the corn starch to thicken the sauce and stir in the green onions
  • Serve with rice

Shiny Crispy Chicken Wings

_DSC6634

My mom gave me a Chinese cookbook a while back, but I have never actually opened it or used it. Now I cook a lot of run of the mill Chinese food, using a lot of pre-made sauces thanks to Lee Kum Kee. However, this time I decided to open the book and try a chicken recipe. This recipe is called “Shiny Chicken” and I was hesitant because of the name, but it actually turned out pretty well. It can be used as an appetizer, or serve it with some rice and call it a main dish.  However you want to do it! Have a crack at it and let me know what you think.

_DSC6624

Ingredients

  • 1/2 chicken, or chicken wings/legs
  • 4 tbsp soy sauce, separated
  • 2 green onions chopped
  • 1 tbsp ground ginger
  • 1 1/2 tbsp sugar
  • 2 tbsp white vinegar
  • t tsp sesame oil
  • oil for frying

_DSC6629

Directions

  • Wash and dry the chicken
  • Rub the chicken with 1 1/2 tbsp of soy sauce
  • Combine the green onion, ginger, sugar, vinegar, sesame oil, and 2 1/2 tbsp soy sauce in a bowl and set aside
  • Heat a wok and add the oil to fry (or use a deep fryer if you got one)
  • Fry the chicken wings until skin is golden and crispy (and the meat is cooked)
  • Pour the sauce mixture over the chicken and feast!

_DSC6627

Baked Honey Cod

_DSC6660

I have been trying to eat healthier recently.  More salads, fruit, and fish.  It is not really easy since i like meat so much, but it hasn’t been all bad either. I came across this recipe for a honey baked cod on Yahoo! Food that was taken from another blog and it seemed easy and delicious.  Turns out it is quite easy and tasty, but I couldn’t get the dark caramelization that they show in the picture. I am not convinced that you can get that by baking it. I think you have to broil it, but hey, I just followed the recipe on this one (kind of).

Ingredients

  • ¾ cup honey
  • ½ cup soy sauce
  • ⅓ cup sesame oil (seemed excessive but who knows)
  • ⅓ cup apple cider vinegar
  • 1½ tsp freshly ground pepper
  • 1 tsp freshly chopped ginger
  • 4 to 6 oz cod fillets

_DSC6664

Directions

  • Combine all the ingredients in a bag and marinate the cod for 24 hours (my slight change was I marinated it for ~5hrs)
  • Preheat the oven to 450 degrees and bake for ~8 min
  • Enjoy a nice healthy meal

_DSC6666

Red Wine Roasted Chicken

_DSC6214

Like I said in a previous post, I pretty much spend free time trolling Yahoo Food and other food blogs/sites.  I came across this one for a roast chicken recipe and it looked good and easy, so I thought I would do it.  I have tried this dish twice now, and I have to say, the first time, I wouldn’t call a disaster, but it definitely didn’t turn out well.  Thankfully, I stuck with it and it was much better the 2nd go around.  A few of the flaws that arose were I didn’t use any potatoes and I also had way more chicken than the original recipe had.  As it turns out, you need those potatoes to soak up some of that water, and when you have about 2x as much chicken as the recipe calls for, it also takes a lot longer to cook.  Who woulda thunk?  Anyways, the 2nd time, I was much better about what I was doing ad while I still didn’t use potatoes, I put in less water and had a much better turn out. I think the one downfall this time around though was that it came out a little too oily in the vegetables from both the water and the chicken juice.

_DSC6199

Ingredients:

  • ⅔ cup red wine
  • 6 tbsp/100 g tomato paste
  • 3 sprigs thyme, leaves picked
  • 3 sprigs marjoram, leaves picked, or ½ tsp dried
  • ½ cup red wine vinegar
  • 1 whole chicken, cut into 8 pieces (I used chicken leg quarters)
  • Salt
  • Pepper
  • 18 oz/500 g baby potatoes, washed (Didn’t do that)
  • 3 onions, quartered
  • 6 carrots, peeled and quartered lengthwise
  • ½ cup water

Directions

  • Mix the wine, tomato paste, marjoram, thyme, and red wine vinegar
  • Season the chicken with salt and pepper
  • Place the chicken in a plastic ziploc bag and pour the sauce over the chicken
  • Shake the bag to make sure each piece is well coated and let marinate for at least 30 minutes (I did about 2 hours)
  • Make a bed of vegetables at the bottom of a large baking dish/tray and pour in the water
  • Place the chicken pieces over the vegetables (skin side up) and pour the remainder of the marinade over the chicken
  • Cover with foil and roast in the oven for ~30 min at 400 degrees
  • Uncover the chicken and baste with cooking liquid and roast again uncovered for another ~15 minutes (I had to go ~30min)
  • Pour yourself a nice glass of red wine and enjoy!

_DSC6210